

Tank Top to Dress
(This pattern is based on a size 5T tank top. Adjust measurements as necessary.)
SUPPLIES
Tank Top
Contrasting fabric for skirt and collar, about 1/2 yard
Interfacing, fusible
Sewing machine (or serger) and thread
HOW TO
1. Cut two 6.5x21-inch ruffles from fabric. Cut one 4x15-inch band from fabric. (Note: The band's width measurement is determined by the measurement of the bottom of the tank top plus an inch for stretch and seam allowance.)

2. Baste first ruffle piece in preparation for gathering.

With the right sides together, gather and pin the ruffle to the band. Stitch. Press seam allowance toward band. Again with right sides together, match the side seams and stitch. Flip to right side.

3. Stitch short side seams together on second ruffle piece. Baste and gently gather one long edge of the ruffle. Ease and stitch to bottom of tank top, right sides together.

Pin the band with ruffle attached (right side) on top of the ruffle (wrong side) that you just stitched to the tank top. Stitch. Press seam allowance up.

4. Topstitch your ruffles to help them behave.

5. Hem ruffles.
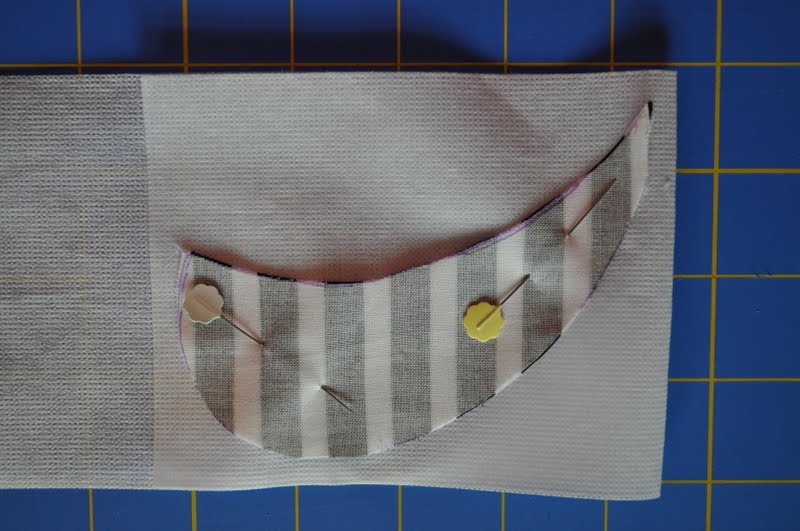
6. On to the collar... Place a piece of scratch paper on top of your tank top. Sketch a Peter Pan collar. Cut the sketch out and eyeball it on your tank top. Love it? Use it. Hate it? Start again. No biggie. When you have a shape that you like, pin the sketched collar to fabric, trace the pattern adding about a 1/4-inch seam allowance, and cut four pieces. I used my handy dandy Mark-B-Gone pen to trace the piece.


Cut two additional pieces out of fusible interfacing and adhere to two collar pieces.
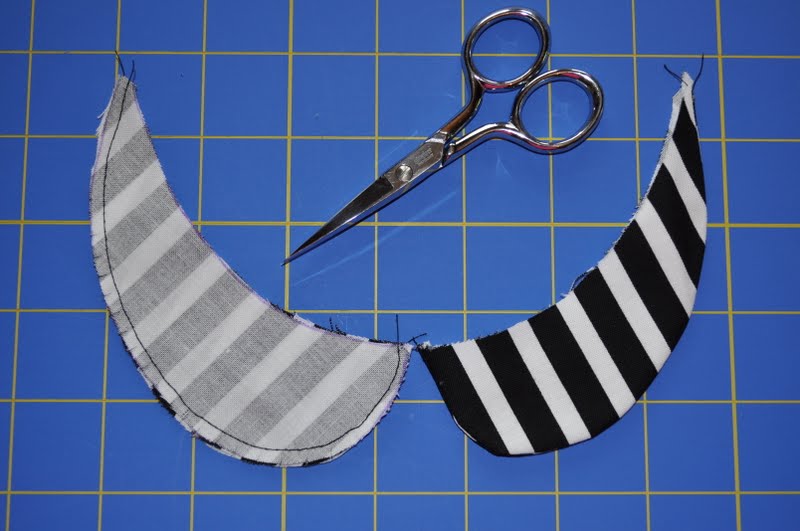
7. With right sides of the collar pieces together, stitch a 1/4-inch seam allowance around outside edge. Clip seam allowance on curve. Flip to right side and press. On the open end, carefully clip the curve and turn under 1/4-inch and iron. I tucked the very tippy-toppy point under because it was impossible to turn. (Please don't hate me... there must be an easier way to do this. You're so close to being done!)
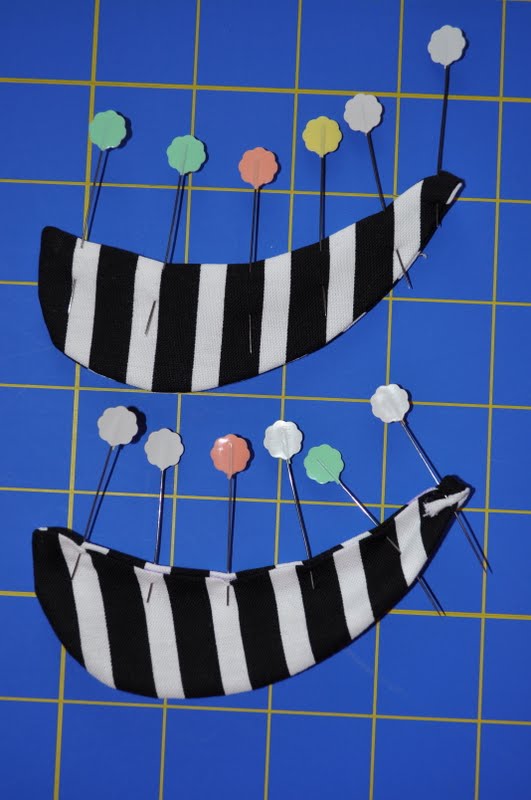
Pin to the neckline of the tank top and stitch. (Note: I change the color of my bobbin thread to match the fabric underneath, in this case yellow. That way, my stitches won't show on the backside of the garment.)

If you're at this point - congratulations! - you made it through the dumbest collar tutorial online. Everything else was easy though, no? And now you have a darling little "Tank to Dress" (that YOU made) to show for it!


2 comments:
The dress is cute, but your model is cuter! :)
I have to agree, Michelle!
Post a Comment