
 I've made lots and lots of embellished onesies and t-shirts in my day. And I'm always on the lookout for a new variation of something to stitch onto them. Simply Handmade had a darling version in their Feb/Mar 2009 issue (pp. 28-35). With help from my favorite Stampin' Up Consultant and dear friend, Kasia Jackson, and her fabulous Big Shot die cut machine, we produced the scalloped circle which is the base for the design.
Simplified directions:
1) Back fabric with fusible web like Wonder Under and cut out your shape(s).
2) Pin and stitch a length of ribbon onto the shirt and fuse your shape(s) on top of them.
3) Zig zag around your shapes to secure them in place.
4) Hand stitch a button somewhere onto your design.
Notes: Target has t-shirts for $5 in quite a few colors for boys and girls right now. Snatch them up! They go quickly. How many shirts a day does your kid go through in a day? Mine? About a million!

 A handful of the New Moon party-goers organized ahead of time to create a goodie bag item (Twilight-themed) to exchange at the big party. Here are their amazing creations! Bet those who didn't opt in to the trade are JEALOUS! (hee hee)
 Tote bag with Twilight charms (Lora Wheeler)
 Make-up case, Twilight Woods lotion, tissues, hand mirror & Edward or Jacob candy bar (Teishi Kennedy)
 Pedicure Set with blood red polish (Angelique Mendoza)
 Hand-bound book sleeve with Post-It notes (Michael Goodman)
 Motorcycle Charm (Makenzie Josephson)
 Jacob's paw & Quileute tattoo wooden pendant, "Fur or Fangs" vinyl transfer, & Twilight candy bar (Eliza Livingston)
 Italian cocoa & biscotti (Alli Easley)
 Twilight sugar cookies (Rebekah Goodman)
 Paper coffin, ornament with Twilight Saga charms & Twilight sweetharts and chocolate (Emma Goodman)
 Hand-quilted CD case w/ two moon inspired CDs, bookmark & artist trading card (Carol Berry)
 "Better Than Edward Jacob Chow" (Tiffany Josephson)
 Apple bead charm & necklace in mini bag w/ pin (Rachel Goodman)
 Two CDs of music inspired by "moon" (Lora Wheeler)
 Glittery spiral notebook w/ vinyl lettering (Celeste Conlin)
 New Moon beaded bookmark, magnet, picture card & chocolate (Karina Tovar)
 New Moon Pies in decorative pastry box (Christine Goodman)
 Bella's Survival Kit (Michelle King)
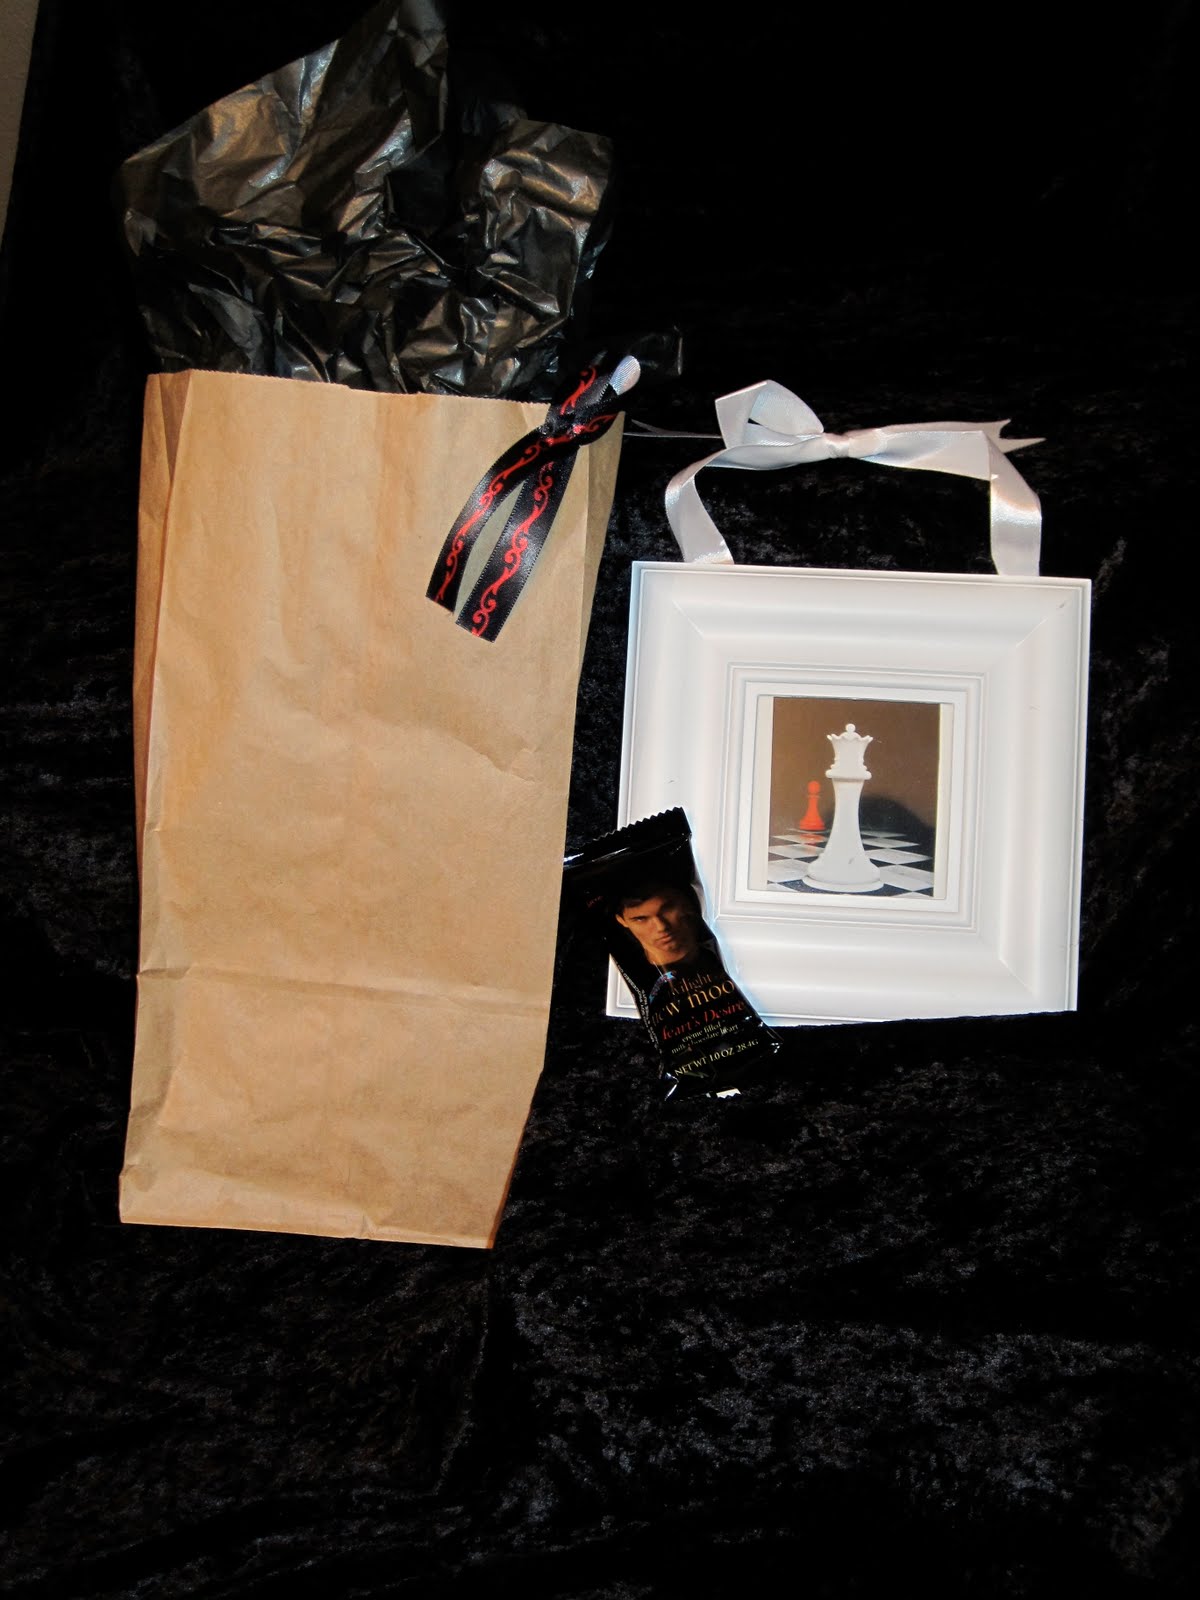 Framed Breaking Dawn print & chocolate (Sylvia Torres)


